


These Mini Fruit Tarts are so super easy to make that it is almost embarrassing when people ask for the recipe.
This 6 ingredient recipe is so simple, yet the flavor is anything but simple. The sugar cookie, cream cheese filling and fruit all work perfectly together and leave you wanting more.
Whenever I serve these on my dessert table for parties, they are one of the first things gone.
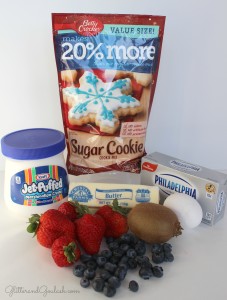
The ingredients needed to make these Mini Fruit Tarts are Betty Crocker Sugar Cookie Mix, butter, an egg, cream cheese, marshmallow creme and fruit.
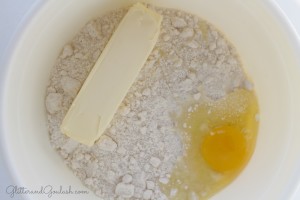
First, add sugar cookie mix to a bowl with butter, egg, and water (per package instructions).
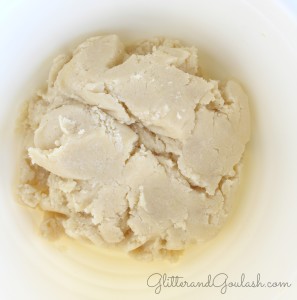
Mix ingredients well until a soft dough is formed.
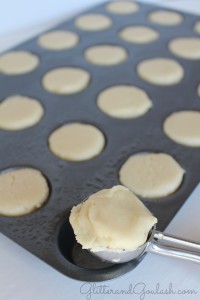
Take a mini muffin pan and spray with oil to prevent sticking.
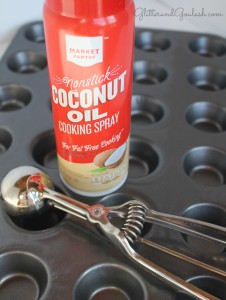
Using a 1.5 inch – 1.75 scoop, scoop your cookie dough into your greased mini muffin tins.
One package of dough makes approximately 24 mini tarts.
Once your mini muffin pan is filled, bake at 350 degrees for dark nonstick pan (or 375 for all other types of pans) for approximately 10 minutes. You will want to adjust your bake time depending on which pan type/temperature you are using. Remove tarts from oven as soon as you see a little brown forming around the outside of the tart.

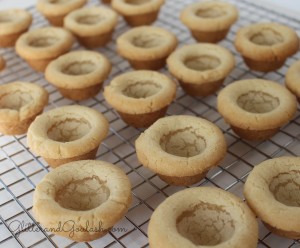
Take tarts out of oven and let sit for 1-2 minutes. Next, you will want to use a teaspoon or something with similar dimensions to create an indent in each tart. I use an ice cream scoop to make my indentations. I prefer this as it is much easier to hold than the teaspoon, but both work equally as well though.
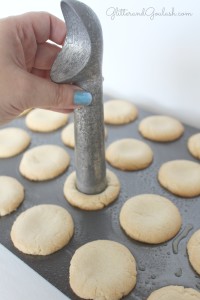
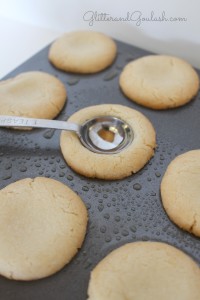
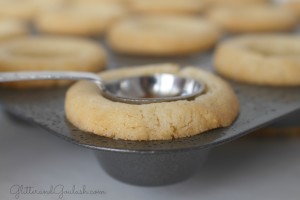
Using your teaspoon or ice cream scoop, gently press into the middle of the tart to make a shallow indentation. If using a teaspoon, I usually press it down until the top of the teaspoon is flush with the cookie (see daigram). Do not push down too far or you will break the tart. Once all tarts have the indentations made, let cool for 5-10 more minutes in the muffin tin.
Once the tarts are cooled slightly, gently remove each one to a cooling rack to cool completely. Make sure they are cooled completely before filling. If you try lifting the tart out of the tin and in begins to break, then let them sit for another 5 minutes and try again. If they are too warm, they will tear. Once they are cooled though, they should come out with little effort. Sometimes it helps to use a fork or butter knife under the lip of the tart to help pry it out.
While the tarts finish cooling, you can prepare your filling. Simply mix 8 oz. of softened cream cheese to one 7 oz. jar of Kraft marshmallow creme.
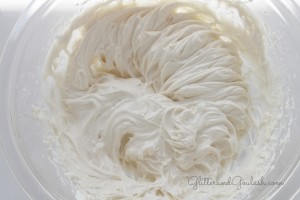
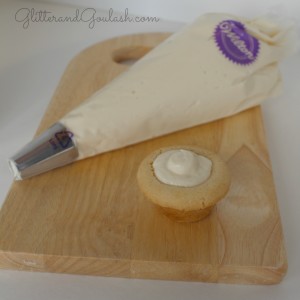
Once you have this thoroughly combined, add it to a pastry bag with a large tip. Don’t have a pastry bag…no problem! Grab a gallon size ziploc baggie and snip the corner of the bag. This will work just the same. Then proceed to fill each tart with some of your filling. I usually fill it so that the filling just slightly goes above the sides of the tart.
Lastly, add your fruit of choice. I typically use strawberries, blueberries and kiwi, but use whatever your favorites are. Get creative, the sky is the limit with these babies!

Kitchen Tip: These tarts can be made ahead of time. You can make the tarts and freeze in an airtight container. Thaw the morning that you need them. Once they are thawed you can fill them and garnish them up to 6-8 hours before you will be serving them.
You can fill them the night before if you have to, but the cookie will get a little soggy and the fruit will not look as fresh.
Make sure to refrigerate the leftover filling and the tarts once they are filled.


Leave a Reply